> For the complete documentation index, see [llms.txt](https://support.pushpos.com/llms.txt). Markdown versions of documentation pages are available by appending `.md` to page URLs; this page is available as [Markdown](https://support.pushpos.com/how-to-guides/how-to-set-up-a-customer-facing-screen-cfs-in-pushpos.md).
# How to Set Up a Customer Facing Screen (CFS) in PushPOS
This guide explains how to upload images and configure the Customer Facing Screen for your POS.
### Steps:
1. Open **Back Office** and log in as **Admin**.
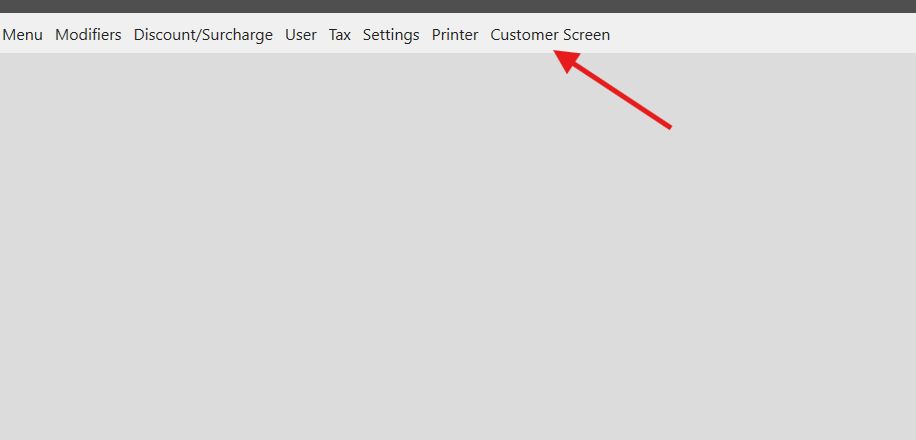
2. Click the **Customer Screen** tab.
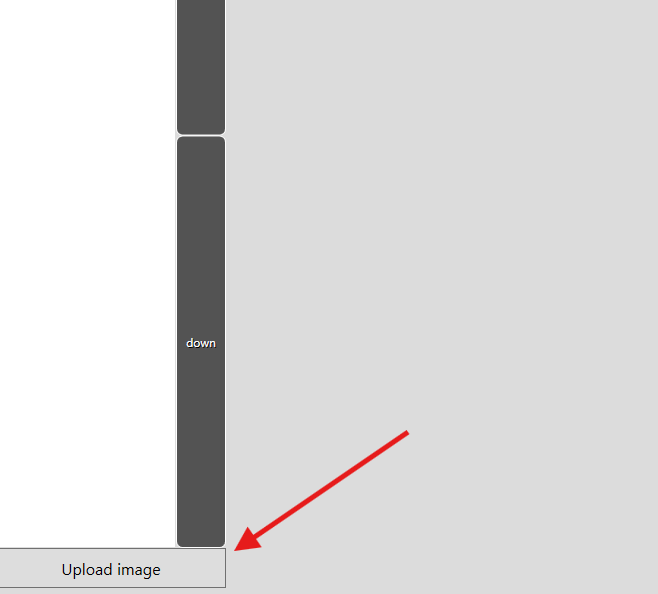
3. In the **lower-left corner**, click **Upload Image**.
4. Select the image file to upload.
* **File format:** *.jpg*
* **Recommended size:** 1280 x 800 pixels (or match your CFS screen resolution).
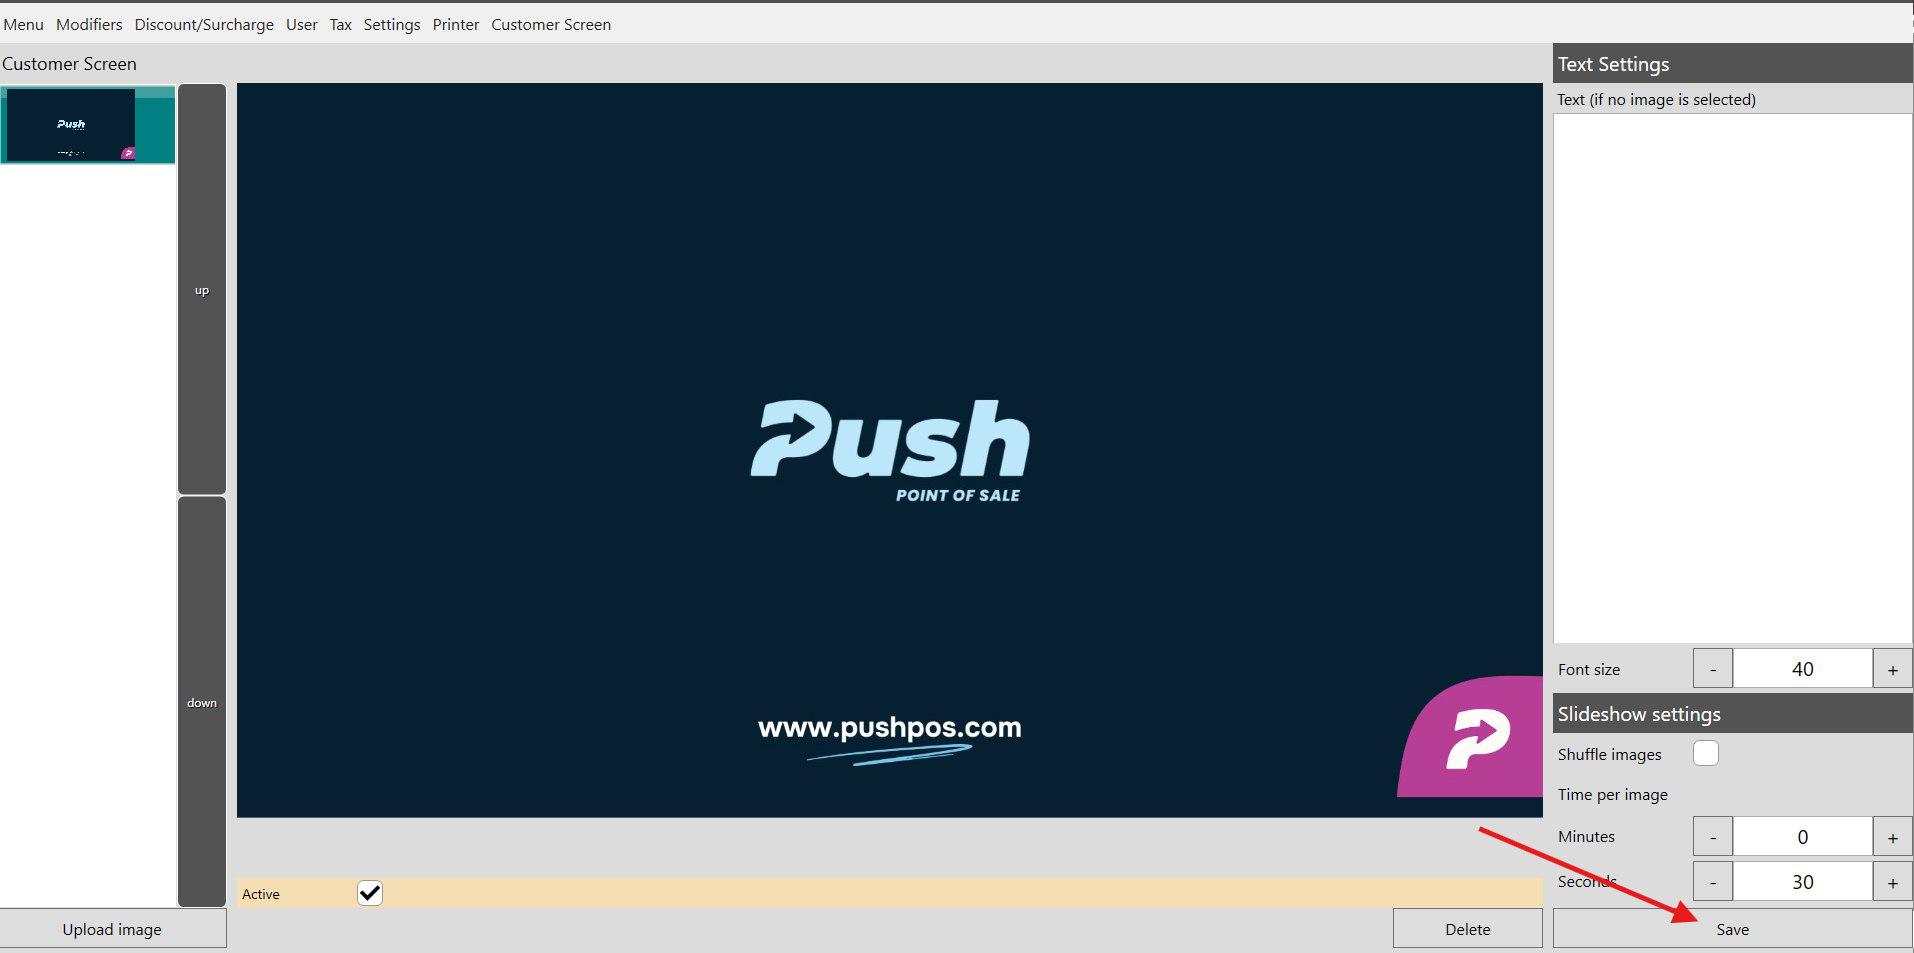
5. Once the image is uploaded, click **Save** to apply changes.
**Note:**
* You can upload **multiple images**. Do the same procedure on adding the images.
* For multiple images, you can configure **Slideshow settings** to adjust images automatically.